What Is The Correct Order Of Work For A Home Renovation?
The correct home renovation order of work starts with planning and budgeting. It is followed by demolition, structural repairs, electrical and plumbing work, window and door installation, flooring, painting, fixtures, and final finishing.
The right house renovation process from start to finish helps homeowners avoid costly mistakes, delays, and unnecessary rework. Whether renovating an apartment, a villa, or an independent house, completing major construction work before interior finishes ensures a smoother renovation process and better long-term results.
Here is the home renovation order of work step by step.
Complete Home Renovation Guide
If you are wondering what order should you renovate a house, here is the step by step process for a complete house remodeling guide.
Step 1: Set Your Renovation Goals And Budget
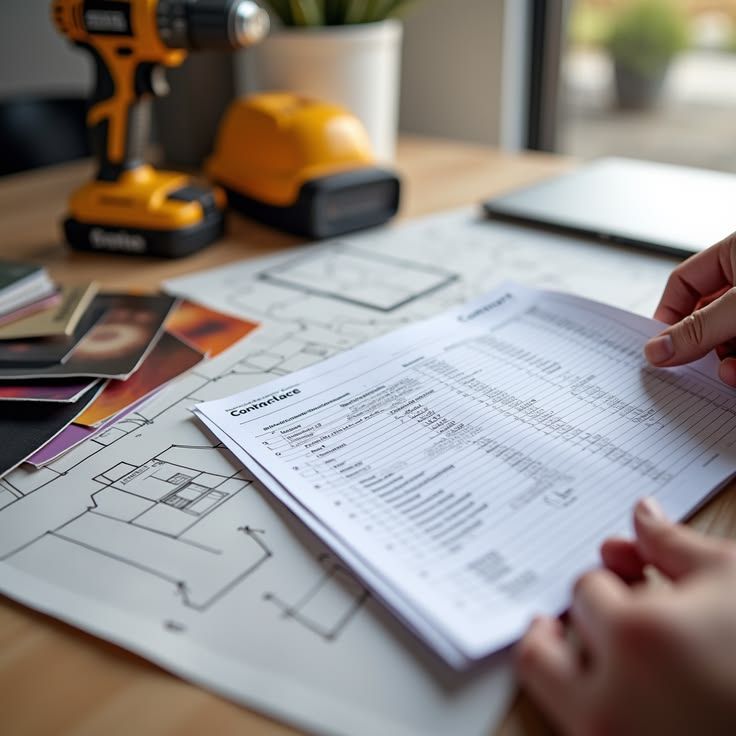
The first step in the renovation sequence for homeowners is to have clarity on two things: what you want to be done and how much you can spend. Once you have a budget, add 15 to 20% on top of it to cover surprises, because they always come up. Without a clear goal and a realistic number, you will make expensive decisions on the fly throughout the entire project.
Step 2: Create Plans And Get Required Approvals
Prepare a renovation plan before any physical work starts. For any work that involves structural modifications, building extensions, or society-regulated changes, you need approvals from your local municipal body or the relevant authority, depending on your city, before work starts. Skipping this step can result in fines, forced removal of completed work, and complications when you sell the property later.
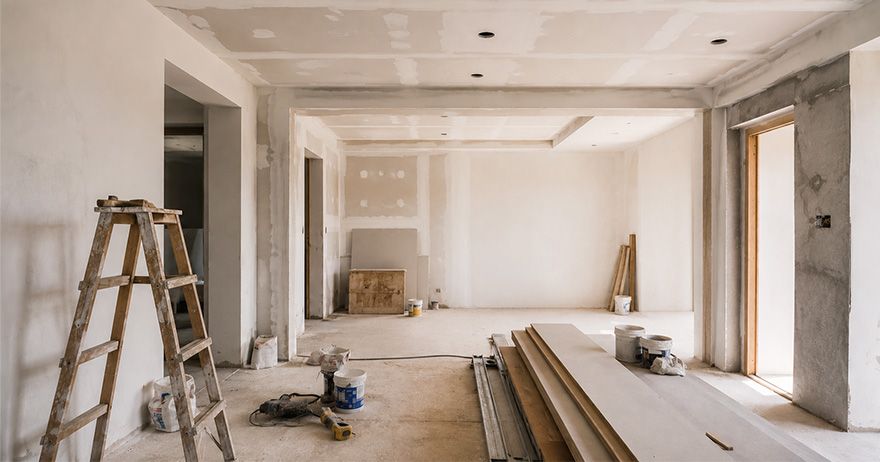
Step 3: Demolition And Site Preparation
Remove old tiles, flooring, false ceilings, kitchen cabinets, broken walls, and outdated fixtures. Everything is cleared out before any new work begins. This stage clears the site and exposes hidden issues such as damaged wiring, leaking pipes, or wall cracks.
Step 4: Structural Repairs And Civil Work
Once the space is cleared, you will be able to see the actual condition of your walls, ceiling, and floor slab. This is when you fix cracks, repair damaged masonry, and address any structural issues that were hidden before. The masonry and civil works, like adding a new doorway, building a partition wall, or modifying the layout, also happen at this stage. You cannot move forward until the structure is sound because everything else sits on top of it.
Step 5: Electrical And Plumbing Installation
Electrical wiring, switch boxes, plumbing pipes, drainage lines, and other concealed services should be installed before walls and floors are finished. If you do painting or tiling first and then realise you need to reroute a pipe or add an electrical point, you will have to break open finished surfaces and redo them. Completing these systems early allows testing and corrections before they become hidden behind tiles, paint, or cabinetry.
Step 6: Install New Windows And Doors
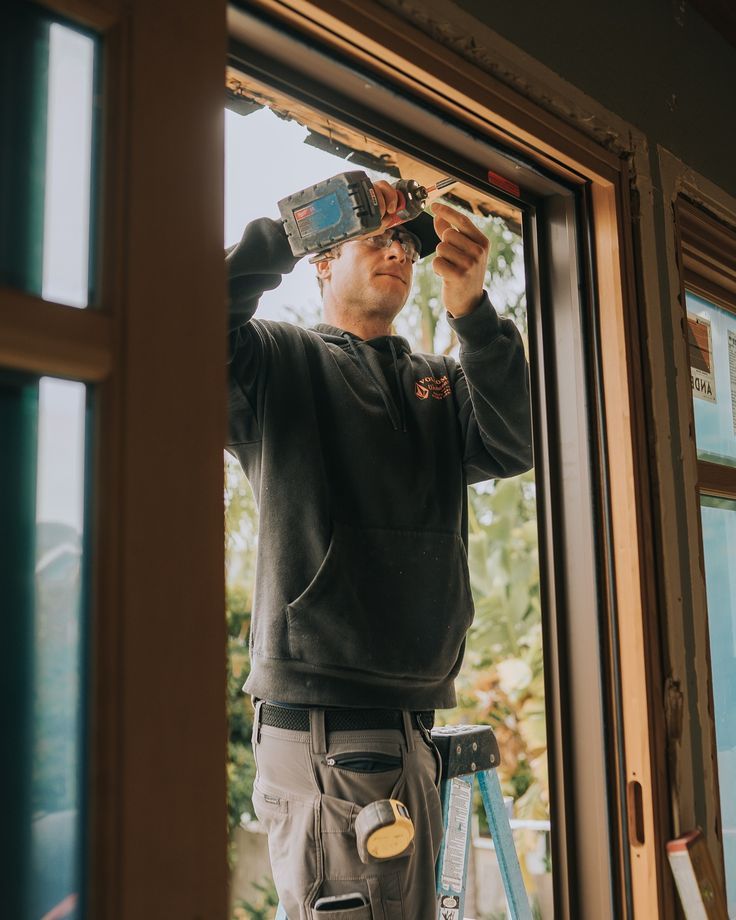
Before the surface work begins, windows and doors work should be done. Installing them at this point seals the site from outside dust, rain, and moisture, which protects all the work that comes after. It also helps maintain proper measurements for flooring, painting, and interior fittings.
Step 7: Waterproofing And Surface Preparation
Waterproofing is applied before any finish surfaces go on. In wet areas like bathrooms, kitchens, balconies and terraces, waterproofing is done on the bare surface, allowed to cure for the recommended time, and then tested before tiling begins. Walls that are going to be plastered and painted get any cracks filled and surfaces levelled at this stage too.
Step 8: Flooring Installation
Flooring is done after waterproofing, but before cabinets, furniture, and wall paints. Tiles, marble, hardwood, or vinyl are all laid on prepared and level surfaces. This way, you can prevent scratches and damage.
Step 9: Wall Finishes And Painting
Once the floor is laid and protected, the walls are plastered, primed, and painted, aligned with putty application and sanding. Start with painting the ceiling first, and then the walls, followed by woodwork and trim last. Doing it in this order can prevent paint dripping from the ceiling on the finished walls.
Step 10: Kitchen, Bathroom, And Storage Installation
After flooring and painting are done, the kitchen cabinets, countertops, bathroom vanities, wardrobes, and shelving units go in. These come at this stage because they go on top of the finished floors and against finished walls.
Step 11: Lighting, Fixtures, And Final Fittings
Now that the spaces are fully built, the final fittings go in. This includes light fixtures, fans, switches, plug points, taps, showerheads, toilet fittings, door handles, and curtain rods. These are the items that get scratched and dirtied during construction, so keeping them for last protects them. Your electrician and plumber will come back at this point to connect everything that was rough-installed earlier.
Step 12: Deep Cleaning And Final Inspection
Construction leaves behind fine dust and debris in every corner, inside cabinets, on window sills, inside light fixtures, and under fittings. So, a thorough cleaning before you bring any furniture is mandatory. After cleaning, check every switch, tap, door, window, and fitting before moving in.
We hope the home renovation order of work helps you be aware of the things being done.
Common Home Renovation Mistakes That Increase Costs
Here are some of the common renovation mistakes that increase costs.
- Not fixing the budget for the complete work: Most people budget for the work they know about, but not for what gets discovered mid-project. Always keep 15 to 20% over your estimate from the start.
- Choosing the cheapest contractor: Low quotes often mean low-quality materials, unskilled labour, or a contractor who will increase costs once the job is underway.
- Changing the plan mid-project: Every new change made after the initial planning is going to cost more.
- Doing surface finishes before services: Painting walls before electrical wiring or tiling bathrooms before waterproofing costs more, as the sequence is wrong.
- Skipping permits: Unpermitted structural or electrical work can result in penalties and become a problem during property resale. Getting approvals upfront is always cheaper than dealing with the consequences later.
Home Renovation Timeline: How Long Does It Take?
Full home renovation order of work can take from 3 to 6 months, depending on the amount of work involved. But keep in mind that delays are more common than you expect. It is always better to keep a buffer time in the home remodeling timeline.
Full Home Renovation Checklist Before Moving In
Here is the home renovation planning checklist.
- All electrical points tested and working
- All plumbing connections checked for leaks, and taps running at proper pressure
- Poured water in water areas and check for seepage after 24 hours
- Doors and windows opening, closing, and locking properly
- Flooring checked for hollow tiles
- Painting complete with no missed patches or drip marks
- Kitchen cabinets and drawers aligned and functioning
- All fixtures and fittings tightened and secure
- Site fully cleaned, including inside cabinets and behind fixtures
- Contractor’s warranty terms received in writing before final payment is released
Go through this house renovation checklist before starting.