Proper curing for at least 7–14 days is essential to achieve maximum strength and prevent shrinkage cracks. A well-executed plastering job creates a strong foundation for painting, tiling, and long-term wall performance. So, in this blog, we’ll discuss everything about the wall plastering checklist.
What Is Plastering and Why Is It Important?
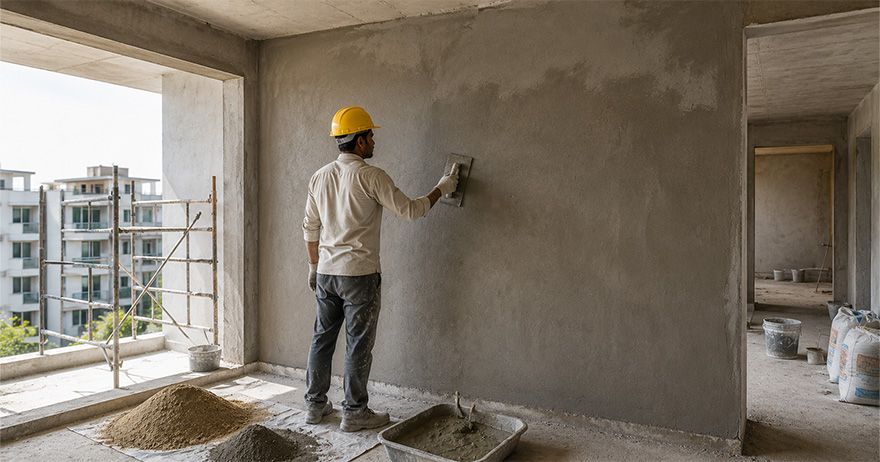
Plastering basically means the process of applying a protective paste of materials like cement, lime, or gypsum to your walls and ceilings. This process is important for smoothing uneven masonry, concealing construction flaws, and creating an even surface.
Plastering helps in preparing the wall for paint while acting as a barrier against the elements. It is one of the most essential parts if you’re looking for the longevity, safety, and comfort of a house.
Types of Plastering Used in India
India is a diverse country, and so are the plastering methods. Let’s discuss the types of plastering that are used in Indian homes:
Standard Cement-Sand Mix Ratios for Plastering
The standard cement-sand mix ratio is prepared depending on the surface and exposure of the walls and ceilings. For internal walls, 1 part of cement to 6 parts of sand is used as it gives a smooth finish. But for external wall plastering guide and ceilings, we need a stronger, weather-resistant mixture; hence, a part of cement and 4 parts of sand prevent moisture penetration and cracking.
1:4 Cement-Sand Mix
A 1:4 cement-sand mix is a medium-strength mortar, and it consists of 1 part of cement to 4 parts sand by volume. Usually, it is used for bricklaying, in 4.5-inch walls, blockwork, load-bearing masonry, and wall plastering, where higher structural strength is required.
1:5 Cement-Sand Mix
A 1:5 cement-sand mix consists of 1 part of cement to 5 parts of sand. This is a mixture moderately lean and is used for exterior or thicker wall plastering.
1:6 Cement-Sand Mix
A 1:6 cement-sand mix is widely used for plastering because it’s the ideal plaster thickness for walls due to its balanced strength and cost-effectiveness. This mixture consists of one part cement and six parts sand, and it provides adequate bonding for residential and commercial construction.
How to Check Plastering Quality?
Here’s how to inspect plastering work:
Surface Smoothness
The quality of your wall plaster is best if your wall is smooth, even, free from cracks, or visible trowel marks. Also, you can test the surface smoothness by running your hand across your wall.
Wall Line and Level
To check if the wall is perfectly leveled, you can use a spirit level, plumb bob, or straightedge. All these tools help in verifying that the wall is a well-plastered wall without bulges or depressions.
Uniform Thickness
The biggest red flag when it comes to plastering is uneven thickness, as it can lead to weak spots, cracking, and an inconsistent finish. You can check the thickness by checking at exposed edges or with measuring tools during the application process.
Corner Finishing
If your corners and edges are sharp, straight, and neatly finished, then your wall plastering is done properly. Because a poorly formed corner not only affects the appearance of your wall, but it can also indicate poor workmanship.
Hollow Sound Test
A hollow sound test is an amazing way to check the quality of plastering. So, gently tap in the your plastered wall with a hammer or any hard object and a solidly bonded plaster produces a firm sound, while a hollow sound indicate poor adhesion or voids between the plaster and the wall surface, which can lead to future detachment.
Plaster Curing: Why It Matters?
When we plaster our walls, they might seem dry within a day or two, but the cement within it take some time to gain strength over time. If you paint your walls without proper curing, it can lead to cracks, poor bonding, and a bumpy surface. And proper curing is a quality-control measure that directly impacts the lifespan of the plaster. A well-cured plaster is less likely to crack or require costly repairs in the future.
Recommended Plaster Curing Time in India
Plastered walls should be cured for at least 7 days. But if you want to achieve the best results, then you should wait 10- 14 days. During this time, you should keep the surface consistently moist by sprinkling water at regular intervals. And for exterior walls exposed to direct sunlight and high temperatures, extending the curing period can provide better results.
Common Plastering Defects and Their Causes
There are some common plastering defects and solutions that you should be aware of:
- Cracks: Cracks are the most common plastering defects, and they are due to a lack of moisture, less curing time, or even if you apply a thick coat of cement plaster mix ratio for walls.
- Debonding: Debonding also occurs due to rapid drying, inadequate curing, excessive cement content, and structural movement.
- Blistering: Trapped air, moisture, impurities in materials, or improper finishing techniques are the causes of blistering in plaster.
- Uneven Surfaces: Uneven surfaces occur when plaster is not applied evenly or the wall is not properly leveled. Such defects can make your wall look uneven, especially after painting.
Plastering Quality Checklist for Homeowners
Use this plastering quality control checklist:
- The surface should be smooth and free from visible cracks.
- Walls are straight, plumb, and properly aligned.
- Corners and edges are sharp and neatly done.
- The thickness of the plaster should be consistent throughout the wall.
- There should be no hollow sound while tapping the surface.
- There must be no signs of blistering, peeling, or debonding.
- The surface is ready for putty, primer, or paint application.
Mistakes to Avoid During Plastering Work
Here are some mistakes that you need to avoid during plastering work:
- Don’t use poor-quality or contaminated sand while preparing the mixture.
- Avoid applying your plaster on an unprepared or dusty surface.
- Correctly measure the cement-sand proportions.
- Applying excessively thick plaster in a single coat.
- Check the wall alignment and level during work.
Make sure you are not ignoring the minor cracks or hollow patches during inspection.
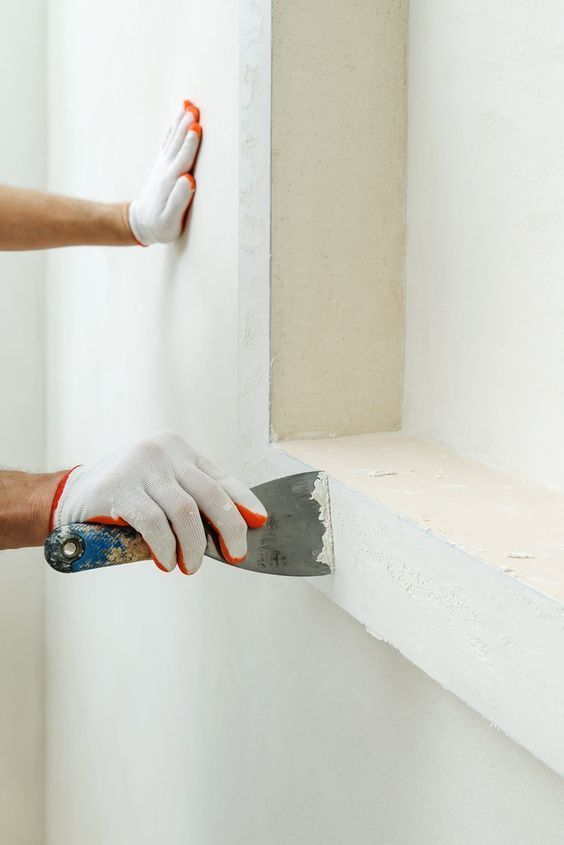
When Is Plaster Ready for Painting?
A simple way to assess if your wall is ready for painting is to ensure that the wall surface feels completely dry and shows no visible damp patches. And you have completed the 7-14 days curing period for a smoother finish, better paint adhesion, and longer-lasting results.